Click Here for Gearbox Part 1: Teardown Inspection
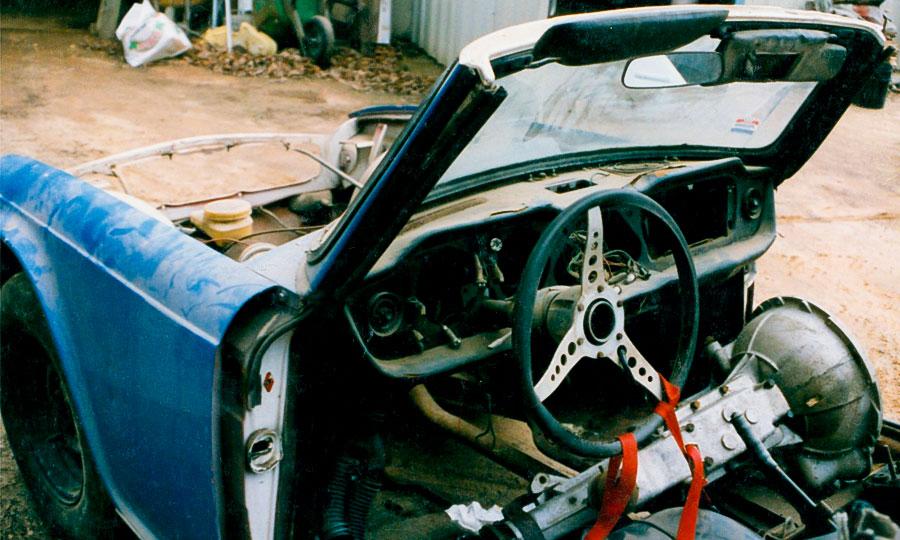
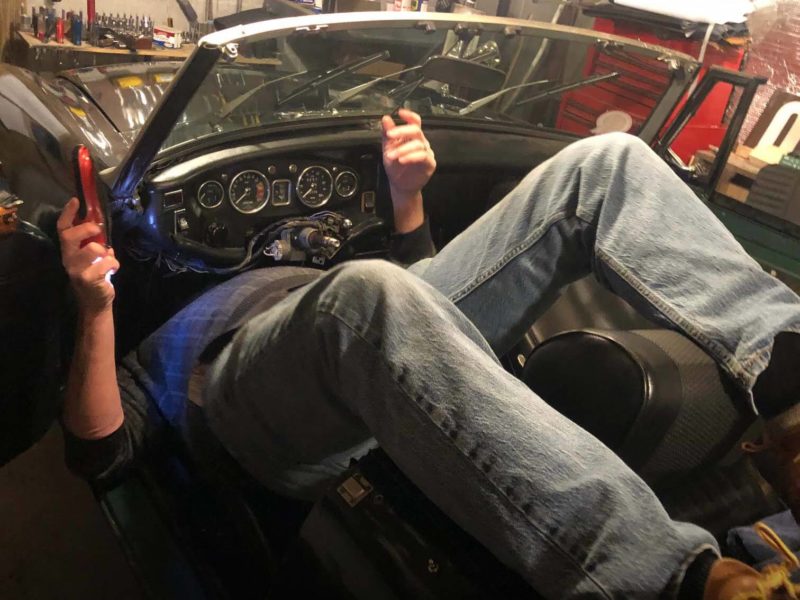
Most British transmissions either come out through the interior of the car (Cars with removable transmission tunnels such as Triumph GT6, Spitfire, Herald, TR2, 3, 3A, 4, 4A, 250 and 6, Austin Healey 100, 100/6 and 3000) or require the engine to be removed in order to remove the transmission from the car (Cars with fixed transmission tunnels such as Sprite, midget, MGTC,TD,TF, MGA, MGB, MGC, Sunbeam, Morgan, most Lotus). You can remove the transmission through the interior on the MGTC/TD/TF and MGA or Morgan if you want to go through the trouble of removing the wooden floor boards as well as the tunnel. This is contrary to most American cars where the transmissions are removed from under the car. This has caused much puzzlement (and corresponding derogatory comments on British engineering) by American car mechanics and owners after they get the car up on the lift and can’t figure out why the transmission will not fit down between the chassis rails or the unibody cross members.
Also, if you have an overdrive transmission the procedure is the same as removing the 4 speed. In almost every case if you wanted to remove the overdrive only, the transmission must be removed along with it. In general, it is more time consuming and difficult to remove and reinstall just the overdrive unit from the car than to remove and start a transmission rebuild while installing the overdrive. Oh yes, we have to mention the other English cars, the minis. On the minis, just remove the entire sub-frame (cake, piece of), with the engine/transmission from the car, rather than try to just remove the engine and transmission from the sub frame. This is really a lot of fun with the hydrolastic (wet) suspension cars. Bring your vehicle to a transmission shop if you need transmission repair or some other kind of work done on your car’s transmission.
So get out the workshop manual (if you don’t have one buy it now!), get a beer or a glass of wine, and read the ENTIRE removal and the installation process before starting. Get used to instructions that just say – install in reverse order of removal, or turn in the appropriate direction. Reading the instructions is not a sign of weakness, like asking for directions when you are lost. Reading the instructions will result in a lot less additional and unnecessary work in the removal, and a lot less head scratching in the re-installment When reading the instructions and during the removal process, keep in mind that the objective of the design engineer was to make it impossible for the service technician to do his job.
If you are removing the transmission or engine/transmission combination from the car for the first time since new or after a long duration since the last removal, also be prepared for frozen, rusted nuts, bolts and screws and expect to break a few in the process. Even though British cars are notorious for leaking, not all the hardware will get a coating of oil or grease and therefore they will get rusted over the years. Try not to break anything expensive, important or no longer available. Keep this in mind when applying what seems to be excessive force to remove an item.
Helpful hints during the removal process are:
- Get a magic marker, a box of wire attachable labels, some boxes and/or plastic containers and plastic bags before you start.
- Label all of the parts that you want to put back correctly as soon as you take them out of the car. If you don’t do this the general rule is it will take you 3 times as long to put it all back together as it did taking it apart (from experience!!).
- It is also a good idea, if possible, to put the bolts nuts, screws etc. back in the places they were removed from as you take things apart. Sometimes they all look the same but can be slightly different in thread size or length.
- Don’t rush! It is easy to get caught up in the removal process to try to get it completed quickly. Do it step by step and place parts from each step in a separate labeled box or container so you can be sure all the parts are not scattered across the garage floor or laying in a large pile somewhere.
- This is a good time to inspect all the parts you remove for wear, damage and replacement. Motor and transmission mounts, all the clutch components, any wiring for the starter, reverse lights, overdrive switches, the flywheel, ring gear, pilot bushing, driveshaft bolts and universal joints, etc. should be checked and replaced if required at this point. Then you will not be delayed when you are re-installing the transmission because you forgot to buy the parts now.
- Pay particular attention to the condition and the proper connection of the engine/transmission grounding strap. This is often overlooked and can cause many problems if not properly re-installed.
- When In doubt consult the manual. When the manual doesn’t help or confuses you further, seek professional help through your local club or a reputable mechanic.
By John Esposito, Quantum Mechanics, Ltd.


'Gearbox Part 2: Transmission Removal' has 1 comment
August 28, 2018 @ 9:56 pm TICHUUQXERLVTUBDEQ
Really Appreciate this update, can I set it up so I receive an email when you write a new article?