


You’ve poured your life, soul and wallet into restoring your classic car for the past few years, and things have gone pretty well. You’ve done most of the work yourself, hiring only a few professionals along the way when you haven’t had the time, skills or equipment.

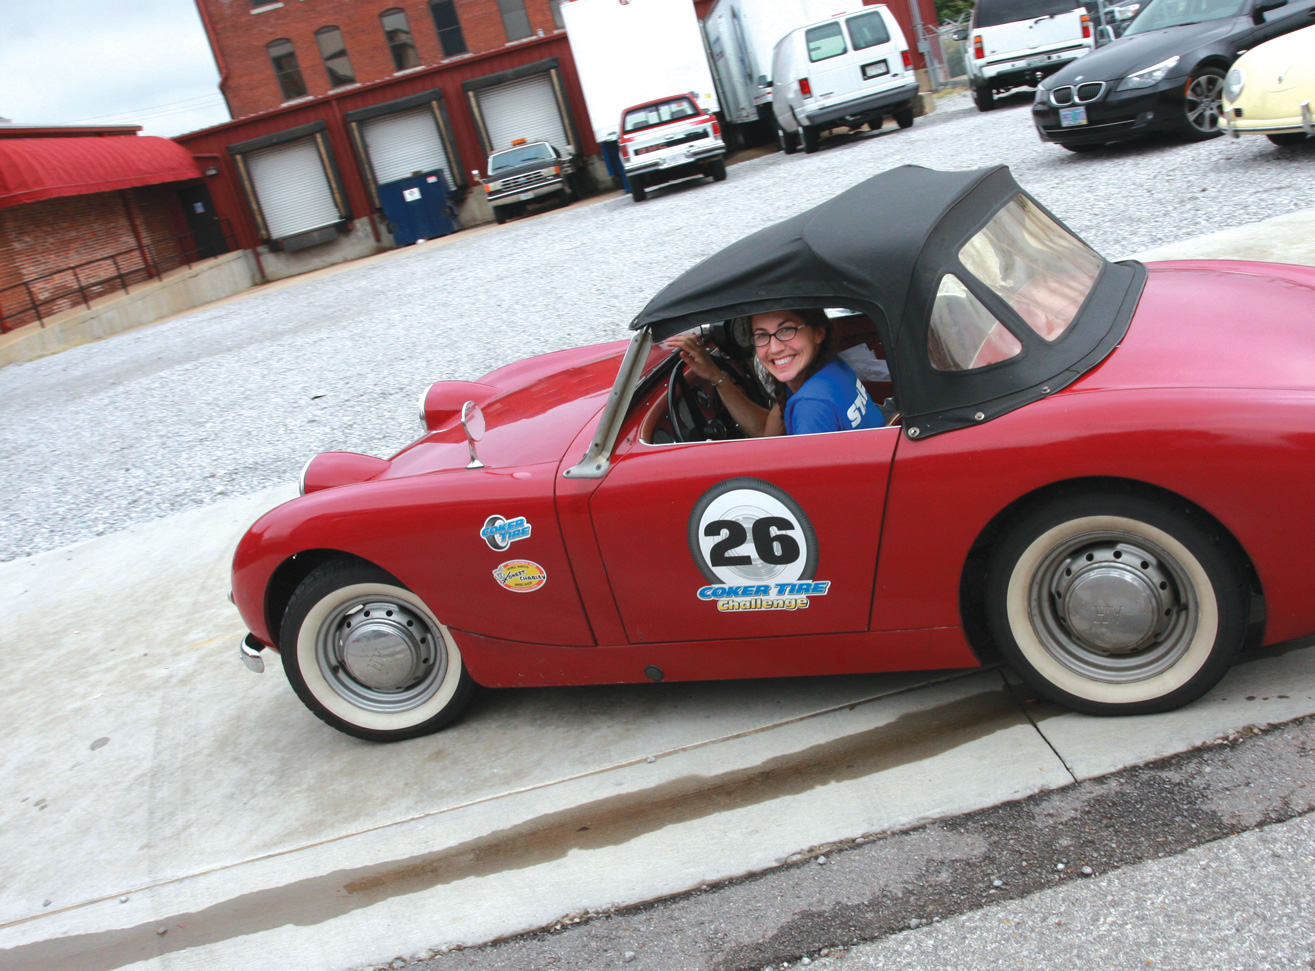
Of course you love driving your British classic, but are all systems go? Before heading out for that next excursion, a quick rundown can ensure your mount is up for the journey.
The day finally comes when you go for your first big outing, and it’s quite a thrill. But the adrenaline soon wears off as one fact becomes apparent: The car isn’t quite up to your expectations.
Subconsciously, you table the project. You drive it every now and then—you might even take it to a few shows and pick up some awards—but the reality is that you question whether all that time, energy, and cash was truly worth it.
This is a typical story.
Of course, there are many variations on the theme. Sometimes it’s an at-home restoration, other times it’s a complete professional job, but the bottom line is that many classics end up this way.
There is good news: Rarely are these disappointments due to a failed restoration or shoddy work. Usually they’re the result of stopping the work just a little too soon.
Sorting is that next step. Sorting is really just a kind term for fixing mistakes and making adjustments. When we restore a car, we like to set aside about 10 percent of the budgeted time and money for this process. Generally speaking, the important part of a restoration is not the first 90 percent of the job, but the last 10 percent. That 90 percent must be done well, of course, but topping it off with the sorting process will make it all worthwhile.
Take a Deep Breath
We’re not going to get too touchy-feely here, but it’s important to begin the sorting process in a stable emotional state. Like it or not, restoration is an emotional processes and can be very trying on your mindset.
If there are family members involved, the emotional component can get much more significant. Perhaps you like the car a lot more than your spouse. How can you admit that it’s not perfect? And even more importantly, how can you admit that you’re going to have to spend more money even though you’re already over budget?
Denial is a common response to these questions. The trouble with denial is it often brings the car home on a flatbed. If the car isn’t right, all the denial in the world isn’t going to fix it.
So, acceptance is the appropriate response. Even before you finish the restoration, accept the fact that you’re going to need to sort it out. Mistakes will be made, but they can be fixed. Sure, they’ll cost you some time and money, but that’s better than being frustrated with your work, not having a reliable car, and tying up a bunch of effort in a garage or trailer queen.
Can’t See the Forest for the Trees
When you’ve stared at your car for hundreds of hours and know every detail of its build, seeing the big picture can become difficult. Many times, it’s hard to sort a car until you can see the forest for the trees. We’ve found two pretty simple ways to make sure that this can happen.
One is to let someone else evaluate your car and provide some feedback. Tell them to be honest. Give them the keys and have them take the car on a long drive or two. Then, have them go over the cosmetics and come up with a list of issues. They’ll be much more objective than you—after all, it’s not their time or money at stake here.
The other method is to take a few steps back and do the evaluation yourself. This means taking a break and staying away from your project for a few weeks—maybe even a month. You might get started on your next project. Whatever you do, just make sure you’ve taken a long enough break that you can evaluate the car objectively.
Let the Sorting Begin

An upcoming show or road trip is the perfect reason to address those niggling issues, whether it’s the lack of a proper hood prop…
Now comes the good part. If you have the correct mindset, sorting is fun. You’re the detective, and your car is the case. Your job is to find out what needs more work and then fix it, and the best way to do that is to drive.
When we sort a car, we grab a note pad and head out for the open road. We usually start with some short trips. Every time we stop, we pop the hood and look for problems. Then we jot down every rattle, squeak or annoyance encountered.
When we get back home, we see how many of these problems can be crossed off the list. Many of them just require a little tightening or some minor adjustments. With this strategy, you’re likely to end up finding problems as quickly as you’re fixing them. Not only will you get the satisfaction of making tangible progress, but each drive gets a little more pleasant as the issues disappear.

…or a leaking axle seal.
Don’t forget the simple stuff; sometimes, checking the obvious is the hardest part. Is there oil in the gearbox? Did you tighten the lug nuts? Will the hood fly open on the highway because the safety catch isn’t adjusted?
Treat every part of the car as suspect and make sure it’s correct. An amazing amount of damage is done to freshly restored cars because of very simple mistakes. Don’t let yours be one of them.
Going Deep
We recommend performing this preliminary drive-and-fix routine for 50 to 200 miles. Then it’s time to get deeper. Sorting isn’t just about rattles and squeaks; it’s also about safety and reliability.
To begin our in-depth analysis, we get the car in the shop and up on jack stands. The wheels come off first. We start with a thorough inspection of the brakes and suspension, making sure that everything is as it should be—no leaks, no loose or binding components, and no misadjustments. Then we look around under the car to make sure everything’s perfect.
While we’re under there, we have tools at hand to quickly tighten every nut and bolt. It’s always amazing how many things can use a couple of turns of the wrench after those initial shakedown miles. More often than not, the exhaust will need some tightening as the initial heat cycles will loosen the mounts and joints.
Before we put the car back down on the ground, we’ll bleed and adjust the brakes, and if applicable, the clutch. We also double-check the fluid levels in the gearbox and axle. Often, they’ll need a little topping off as the lubricant finds its way into the crevices of the components.
Once the car is back on the ground, we tackle the electrics. We start by testing every light and electrical component to make sure they’re still working. Once this is done, we tighten every connection and double-check every plug, much like we tightened and checked the underbody.
We’ll also take the time to make sure that everything is neatly routed, sometimes repositioning wires or adding cable ties in the process.
Finally, we’ll look for wires that are either too long or too short and correct them. If they’re too long, not only are they unsightly, but they might snag on something. If they’re a tad short, they might get yanked from their connections.
Most importantly, we make sure the battery is tied down. We’ve seen a lot of restorations where the battery has been allowed to flop around, potentially causing a fire.
Next we move on to the engine bay. We torque the cylinder head, adjust the valves, and check the compression. We make notes of the compression and use it as a baseline for the future. We make sure all the fluids are at appropriate levels, then pressure-check the cooling system to make sure there are no leaks. If any fluid levels are down significantly, we find and fix the leaks.
Then we check the timing. Ideally, we do this job using a dial-back timing light and an assistant. We disconnect the vacuum advance and check the timing at idle, making sure it’s in spec. Then we start to increase the engine speed in 500 rpm increments to make sure that the distributor’s centrifugal advance is working properly. Once the ignition passes inspection, we check the tune of the carburetors.
Now it’s time to go back to the body. We check and adjust every hinged panel: doors, hood, trunk lid and even the glove box door. We want every one of these to nicely click shut and then open without incident. If something isn’t right, we’ll carefully make adjustments. Restorations are judged by the quality of panel fit, and proper latching is a significant part of that.
Then we make sure that all of the trim is still tight and that the bumpers and grille fit properly. Sometimes we decide that some of the marginal chrome should be redone or replaced; taking a break to separate the forest from the trees can lead us to decide things aren’t quite up to par.
Our last stop is the interior. We make sure that all the gauges are working, all the interior lighting is functional, and all the switches are correctly oriented and snapping into position. We check the seat slides and any other adjustments, ensuring that they move freely. Often, a little grease will cure any woes in this area.
If our resto is a convertible, we make sure that the top properly goes up and down. A top that doesn’t fold correctly can get wrinkled or, worse, torn. We also check the visors, shift knob, and everything else we would regularly touch to make sure the components are tight and comfortable. For us, interior rattles are more annoying than anything.
Drive It Like You Stole It
By now, we should have found and fixed all the problems. Some issues have probably been simple to address—just a little tightening or adjustment was needed. Some have probably been more significant—maybe the carbs came back off or, worse yet, the engine had to come out. But the effort and expense is worth it, as the car has become much more pleasant to drive.
Our last step is one more long excursion. This time, we drive the car hard, really putting it through its paces. We always make this drive in a safe place and in a safe manner—ideally, we’d go run at a local autocross or test-and-tune event.
During this drive, we accelerate and brake quickly to really heat things up and put everything to the test. When we accelerate, we want smooth running and no strange noises. When we hit the brakes, we don’t want any dangerous lockups—like rear wheels first—or pulling in any direction.
Immediately after the hard drive, we like to pull out an infrared thermometer and take some quick temperature readings. We check the temperatures of the four brakes, making sure that they’re very close from side to side. We also take readings of the radiator in several spots, ensuring that it’s 10 to 20 degrees warmer on the inlet side than the outlet side and that there are no dead spots.
We check the temperatures of the engine block and cylinder head, making sure there are no hot spots. The exhaust also gets a temperature check. We make notes on each of our readings so we have more baselines for the future.
Time to Enjoy
If you’ve ever wondered why so many cars are put up for sale immediately after they’ve been restored, you might now have a clue. Most of them aren’t sorted out, and their unknowing owners are selling in frustration. These cars can be bargains, often sold for 30 to 50 percent of the restoration cost.
But this won’t happen to you. You’ve gone the extra mile—that last 10 percent—and made sure your car is everything it should be. Now you can hop in and go for a drive, never worried, never disappointed. You’ve done what you set out to do.
Necessary Checks
Before blindly heading into the sorting process, here’s a little road map to help you get started.Brakes and Suspension
• Hand brake works properly—able to safely slow the car, hold the car on a hill, and release completely.
• Brake pedal free play is properly adjusted.
• No sponginess in pedal and no pumping necessary.
• No pulling in either direction.
• No inappropriate lockup under hard braking.
• Shock absorbers work correctly.
• Ride height is correct.
• No binding, especially the anti-roll bars.
• Wheel bearings are lubed and adjusted properly; all split pins are installed.
• Suspension and steering lubed.Engine and Drivetrain
• Compression is within 10 percent on each cylinder.
• Good oil pressure; minimal or no leaks.
• Proper oil level in engine, gearbox and rear axle.
• Engine idles well and at consistent rpm.
• Car accelerates smoothly.
• Engine shuts off without dieseling.
• No exhaust leaks.
• Coolant completely topped off and no air bubbles present.Electrics
• Battery is tied down.
• Horn is loud and works every time.
• All lights and accessories work.
• Charging system works and belt is tight.
• Proper fuses everywhere.
• No dangling or unterminated wires.Exterior
• Panel gaps are appropriate.
• Doors latch properly on primary and secondary latch points.
• Hood and trunk releases are properly adjusted, tightened and lubed.
• Door handles, bumpers and any other bolt-ons are tight and rattle-free.Interior
• Seat belts work properly and are new enough to be safe.
• Seats slide freely.
• Gauges and dash lights work.
• Mirrors hold adjustment and don’t rattle.
• Steering wheel is on straight.
• No unplugged holes in dash.
By Carl Heideman


'Restoration Break-In' have 5 comments
December 29, 2012 @ 4:01 pm Russell Rotzler
C.H.
The listed issues in the article were surprising. I would guess that the “restorations” often did not include removing each system component, doing a thorough inspection, and rebuilding or replacing each item as it is found to be marginal or worse. Returning each removed item to its proper place methodically by system, torque wrench in hand or meter at the ready and noting this on the check list generated as it was removed, would normally have the repair complete. Operational adjustments are a basic process which should already be correct before the renewed machine is put on the road to bed-in those new brake surfaces.
I suspect that the situations described are more the result of a “restoration” which is cosmetic in basic intent more often than being a “mechanical rebuild” which may also include cosmetic issues to complete a real restoration process. Unfortunate dominance of appearance in this society over functional knowledge, (in far too many topics).
Apparently, the general skills and methodology required for putting that nifty old British sports car back into fully roadworthy and renewed condition are a serious challenge for too many owners. That being the case then, this article serves as the checklist which probably didn’t exist during the “restoration”.
Moss Motors has certainly made life easier for our rebuilding effort with an excellent supply of almost everything and at an effective cost.
RR
January 2, 2013 @ 7:01 am vic myers
Hey Carl- Loved your article. Very…sensitive, you MGB whisperer you. Happy Nuevo. Vic OTRA
January 8, 2013 @ 5:42 am Sumith Hapuarachy
Hi,
As a British car colector, I like your article very much. It gives a good run down on what I should do to bring every car to the next level. Thanks for all the details given in your article.
March 10, 2013 @ 10:55 am Ken Roscoe
Great article. My experience, exactly–multiple times. I think the thing to remember is: your restoring an old car. No ABS brakes, speed sensitive steering, fuel injection and many advancements that make today’s cars seamless…boring. Don’t give. Just keep pouring time and money into it! Just finished a project that started in 1978, yep 1978. Never gave-up. Finished it multiple times and each time I knew I wanted a better example. Thanks to John Nymus in Phoenix, Mr Lorrie Alexander in El Dorado Hills, friends and family and fellow British car lovers—of which there are many. It was worth it! People love the car, even my wife thinks its cool…now. Next step is to help someone with theirs and get rid of my spares. Here’s why it’s worth it, going to gas station is for most, an inconvenience, for me it’s social. Classic cars remind us that the world is basically good, people are great and life should fun.
March 15, 2013 @ 10:54 am Gary Weber
Thanks’ for the insight Carl,
II have owned several cars that requires breaking in and believe in varied RPM and don’ kiss the paint too often.
I just purchased a frame off TR6 which is running non detergent oil. The vendor rehearsed me that this is by far the best way too seat the engine. After reading several articles and I am still in the dark. Luckily there is still Snow on the ground and I can switch it out before spring.
Any thoughts you could pass on would be much appreciated.