


By Jan Dawson; photography by Moss Motors staff
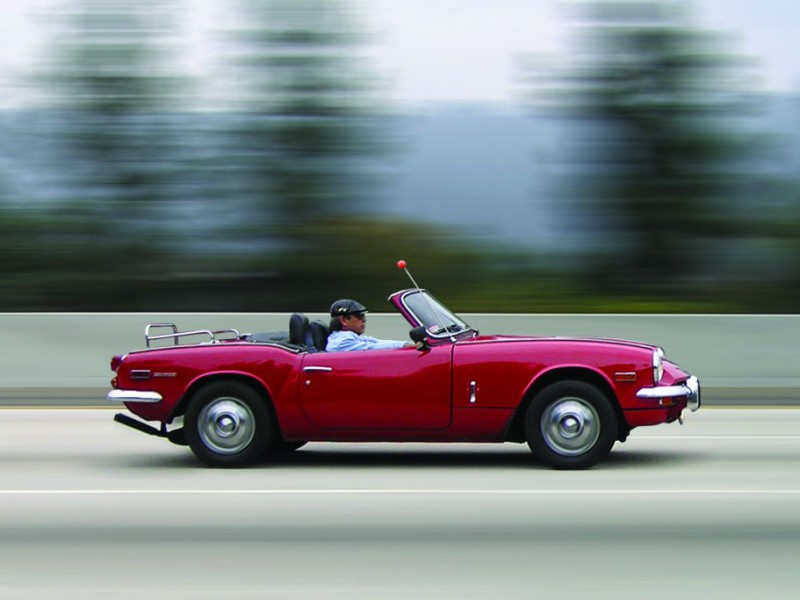
It’s funny sometimes what your friends tease you about. And, it seems, the longer the friendship, the more teasing. Certainly, that is the case with my friend Robert and me. Our friendship has endured 22 years now and is bonded by the love of Triumphs, or something like that…to be sure, Triumphs are what brought us together.
The latest round of good natured teasing actually started a couple of years ago at Triumphest in San Diego. We were looking at the engine compartment of a TR6 while talking to the deservedly proud owners when I noticed that the brake fluid level on one half of the brake fluid reservoir was below the danger level. Now, in these situations one would do well to remember what Claude Rains said in Casablanca: “round up the usual suspects.” With the Triumph TR250 and TR6 the first suspect to check when you have a brake fluid loss is the Pressure Differential Warning Actuator (or PDWA for short) which is located just below the brake master cylinder. Upon inspection of this particular TR6’s PDWA it was clear from the brake fluid leaking out of the switch (which is screwed into the top of the PDWA) that this was indeed the source of the failure that was leading to a potentially life threatening disaster…no brakes! Nobody likes to be the bearer of bad news, but when it comes to safety one should naturally notify drivers of any problem. So I broke the bad news to my new friends, who turned out to be “new” TR6 owners that were really just learning about Triumphs and had no idea what a PDWA was or how to fix it.

A leaking PDWA switch can lead to brake failure.
Almost a year later, while attending a local Triumph club BBQ I was looking at the engine compartment of a supercharged TR6 that Robert had driven to the event when I noticed that the brake fluid on one half of the reservoir was below the danger level. Yep, you guessed it, the PDWA was leaking out of the switch and Robert started teasing me about always finding this problem on TR6s. Lucky for him I take teasing well because I did the same “roadside” fix on his TR6 as I had done for the couple with the TR6 in San Diego.
Should you ever find yourself with a leaking PDWA you too can do the “roadside” fix that will enable you and your TR250/TR6 to continue on home. First disconnect the lead from the wiring harness that plugs into the nylon-bodied switch on the PDWA. Next unscrew the nylon-bodied switch from the PDWA. At this point you will need a 3/8 (24) UNF bolt wrapped in Teflon tape to screw into the PDWA thus “plugging” the leak. With the leak “plugged” be sure to top up the brake fluid in the reservoir. Finally, recheck for leaks and brake function. If everything checks out, you are good to go until you can get back home and repair the PDWA properly.

With the bolt installed, the brake system will operate as normal until a
complete repair can be made.
The PDWA is a very simple device. It is designed to provide the driver some early warning of brake problems due to loss of brake fluid pressure by illuminating a red “Brake” warning light in the dash. Thinking of the PDWA as the letter H, the fluid for the front brakes is routed through one leg and the fluid for the rear brakes is routed through the other leg. Connecting the two legs is a tube that contains a shuttle like piston. As long as the hydraulic pressure remains constant on both sides the shuttle does not move. However, should one side lose fluid pressure the shuttle will be forced to the low pressure side thus exerting pressure on the plunger that is on the bottom side of the nylon-bodied switch ultimately illuminating the “Brake” warning light in the dash. Each end of the shuttle has an “O” ring (TR250s actually use “cup” seals) which prevents the brake fluid from leaking between the legs of the PDWA or out of the nylon-bodied switch. Over time the “O” rings can become worn and/or just deteriorate due to age. When this happens fluid leaks past the “O” ring seal and follows the path of least resistance which in this case is out the nylon-bodied switch and onto the engine compartment paint under the PDWA. Brake fluid on paint is never a good thing as it will cause the paint to bubble and delaminate itself from the metal of the car body. For safety’s sake it is a good idea to make proper repairs to the PDWA by replacing the “O” rings (Moss # 181-995) on the shuttle and reconnecting the switch so the dash warning light will function. Before attempting to do any work on the brakes (or any system on the car) be sure to consult repair manuals and make sure you have the tools, knowledge, and abilities to safely complete the task.
For safety’s sake it is a good idea to make proper repairs to the PDWA by replacing the “O” rings (Moss # 181-995 for the TR6, unfortunately there is no current repair kit available for the TR250) on the shuttle and reconnecting the switch so the warning light in the dash will function. Before attempting to do any work on the brakes (or any system on the car) be sure to consult repair manuals and make sure you have the tools, knowledge, and abilities to safely complete the task.
'Triumph TR6 Brake Tech' have 2 comments
December 31, 2016 @ 6:58 pm John Flynn
Good article explaining temporary and permanent repairs to the valve assembly, as well as its function. The one on my TR is leaking, so I’m glad Moss stocks the necessary rubber seals.
December 14, 2020 @ 9:05 pm larry ray fuller
I replaced the passenger side brake shoes and put new parts on rear except brake cylinders. Got everything back together and looks good. However when I bolted the rear axel down the wheel wouldn’t spin. I loosened the bolts and the wheel spun freely. I tried just tightening two bolts down and again the wheel wouldn’t move. Went to the drivers side and it was still the old shoes and the axel was still bolted down and it spun freely. I’m stumped. Any ideas?