


From Moss Motoring 1984
Submitted by David E. Harris Pasadena, CA
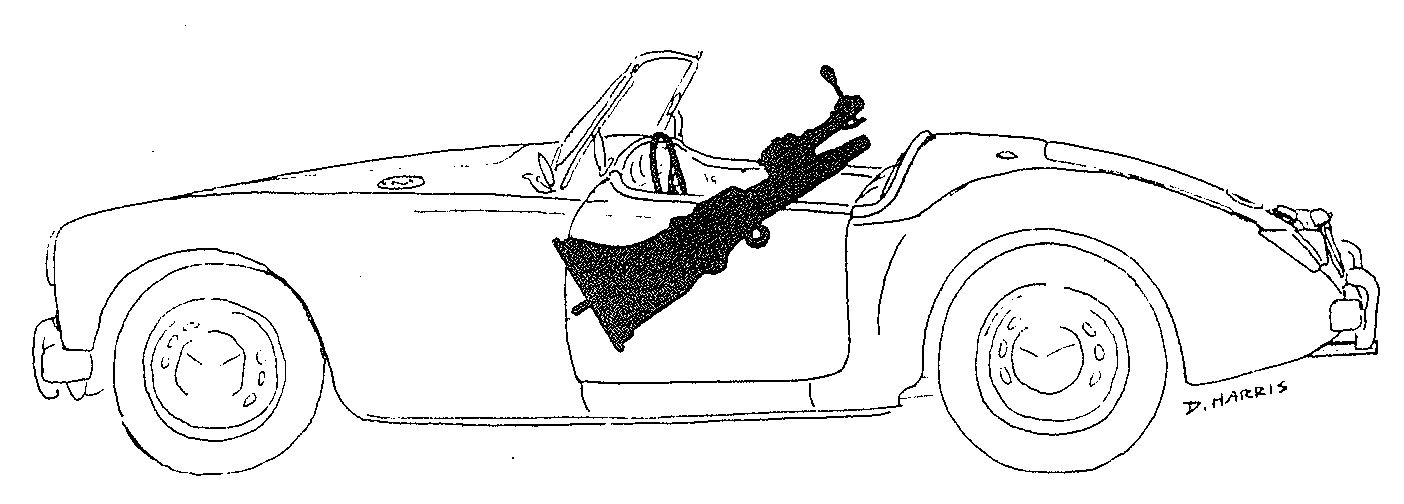
 You’ve been putting it off, but now you’re going to have to do it- rebuild your MGA Roadster’s transmission. You run to your Factory Workshop Manual and scream in horror as it tells you that you must pull both the engine and the transmission out as an integral unit in order to get at the beast. At best, you will be told by some workshop manuals that you can separate the tranny from the engine first but the engine still has to come out! If you don’t have the facilities to pull the “power unit” out, don’t panic – there is another way! The transmission can be removed separately out the cockpit. (The author does not know if this is possible with a coupe.) This can be accomplished in the following manner:
It will be easier later if you jack the car up and secure all four corners with very sturdy jack stands. Lower the top out of the way.
Remove the seats. The seat slides may be left in place.
Remove the floorboards. This may or may not require the removal of the carpeting.
Remove the toeboards at the firewall. (When replacing, it is a good idea to carefully caulk all seams where the floor and toeboards fit to the frame, so they are waterproof.
Remove the driveshaft cover (the rearmost section of the transmission tunnel).
Disconnect the emergency brake cable at the handbrake lever, and remove the two parts that strengthen the transmission tunnel at the handbrake. (These two parts also prevent the driveshaft from catapulting the car, should the front universal break and the driveshaft drop at the front.) Remove the gearshift knob, and then remove the transmission tunnel.
Remove the driveshaft after noting its rotational position.
Disconnect the speedometer cable.
Remove the clutch slave cylinder from the transmission.
Drain the oil from the transmission.
Remove the bolts securing the toe-board support plate part of the firewall (which the steering column passes through), so that it can be shifted , and you can best maneuver the transmission.
Unbolt and move the starter motor out of the way.
Support the rear of the engine. Support the transmission. Remove the gearbox to frame mounting bolt. Unscrew and remove the clutch housing to engine retaining bolts, being careful not to allow the weight of the transmission or engine to rest on the gearbox input shaft!
With a friend, carefully pull the transmission away from the engine until the input shaft is free, and then carefully lift the transmission up tail-first out the cockpit.
Whew! You’ve done it. We never said that it would be any easier, but if you’ re in the aforementioned predicament, it works quite well. As you might guess, replacement is a reversal of the removal procedure.


'MGA Gearbox Removal: An Alternate Method' have 4 comments
February 28, 2018 @ 4:39 pm Frank Newland
I tried this method on my 1960 MGA, it does not work, the tranny will not clear the firwall.
February 19, 2024 @ 6:34 am John Halton
I have done it a few times it does work. You have to remove the toe board support plate or rotate it out of the way, the gearbox needs twisting a bit when withdrawing to clear the release lever. My car has the tunnel mounted above the floorboards which helps.
September 22, 2025 @ 8:49 am Clive Oberem
Glad to see this can be done, as I’m about to embark on this venture with my 59 MGA. Just hope it all works out.
November 20, 2025 @ 9:18 pm Ian Campbell (MG Car Club, Hobart. Tasmania.
It does work, not too hard, just a bit of twisting & turning. Remooving seats, carpet. floor boards, & refitting them takes time. Thank you for help.